This migration method is ideal when your site exists solely on your local machine.
Install and activate the free BackWPup plugin
First, navigate to the Plugins page of your WordPress admin area and install BackWPup. Alternatively, you can download the plugin from the WordPress plugin directory and install it manually.
Create and configure a new backup job
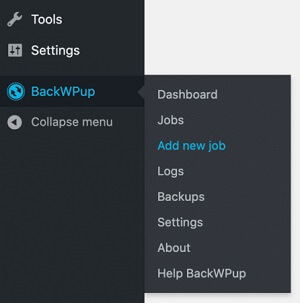
Next, navigate to the BackWPup menu on the sidebar and select Add new job.
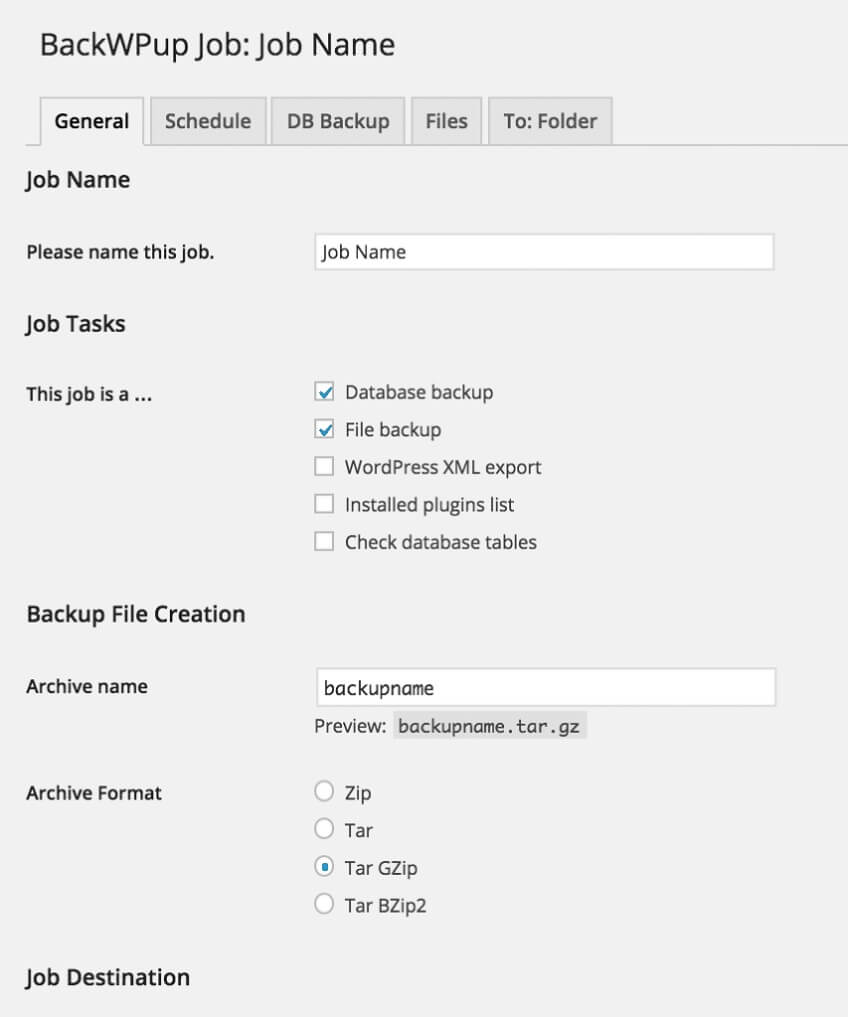
Enter a name for your backup job. Make sure the Database backup and File backup boxes are checked. Select Tar GZip for the Archive Format.
Make sure Backup to Folder is checked.
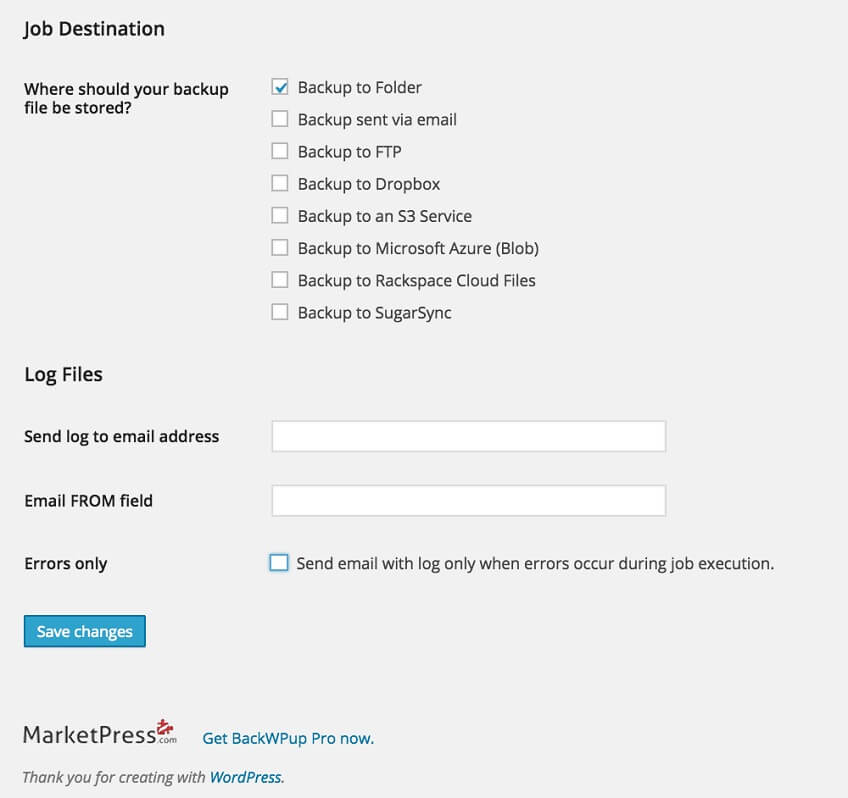
Click Save changes.
Navigate to the BackWPup menu on the sidebar and select Jobs.
Hover over the job you created and choose Run Now.
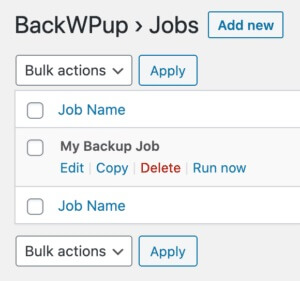
Depending on the size of your site, your backup may take a few minutes to complete.
Download the backup
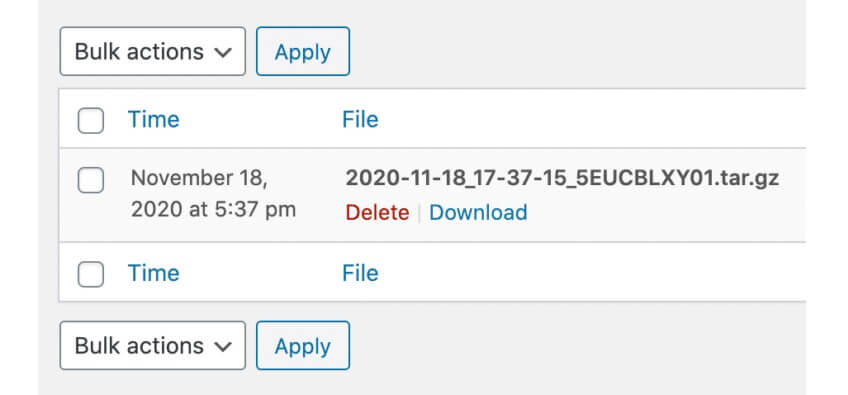
Navigate to the BackWPup menu on the sidebar and select Backups.
Hover over the backup you created and select Download.
If the backup completed successfully, you will see various files and folders – make sure a folder named wp-content and a file with the extension .sql are present. These contain all the information required to recreate the site on WPhost.

